Seems I'm on a bit of an invitation kick lately. That's fine by me, because it means there's lots of parties in our midst. If there's one thing I like to do it's plan a party!
We don't usually do anything big for Mother's Day. It's usually hard to coordinate visits to each side of the state to see both Mom's, my parents are usually either just going on or just coming back from vacation around that time, and my Mom's birthday is just a couple of days after.
This year, because everyone has been so busy and will continue to be so busy in the weeks and months before and after Mother's Day, we decided to invite both sets of parents, and Travis' grandmother to our house for a Mother's Day brunch.
One of the things I've loved about owning our own home is having the opportunity to host. If there's just one thing I love more than planning a party? It's
throwing a party! And while this is most certainly a small gathering and not formal at all - I'm determined to make it
special.
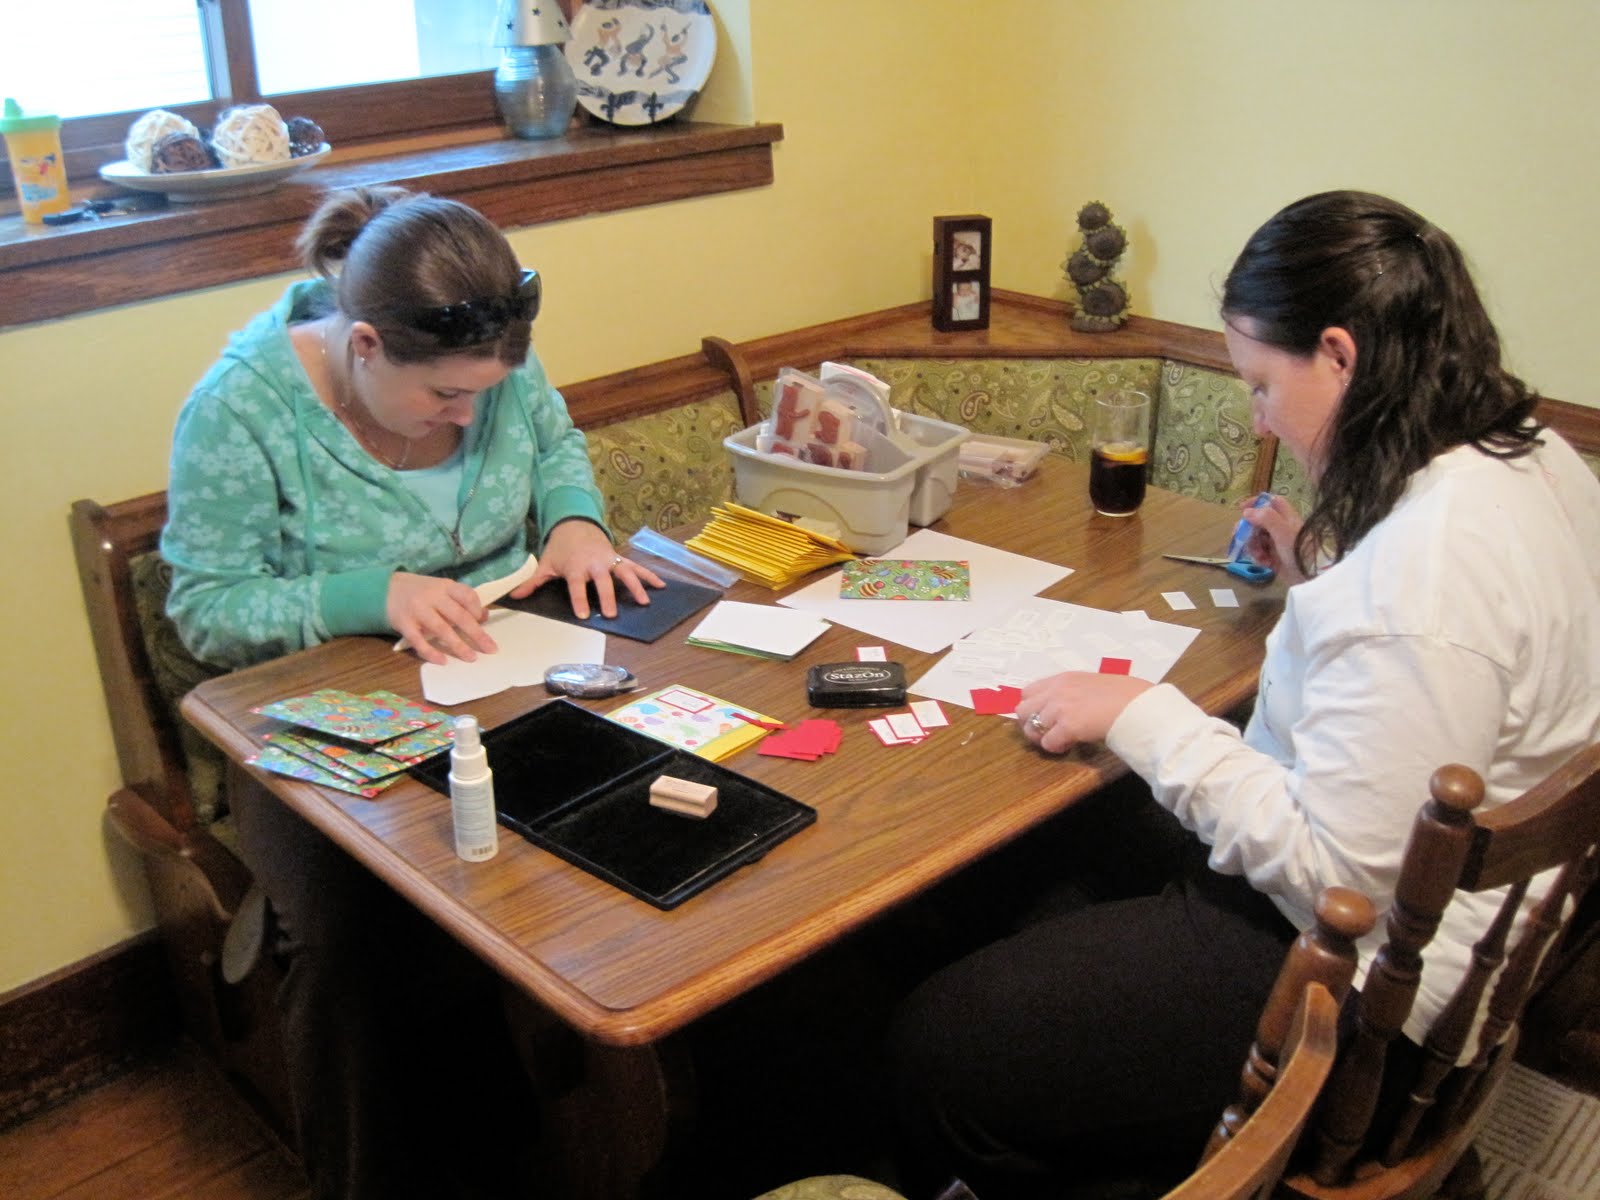
It always feels special to get something in the mail. So even though we've let our family know ahead of time that we're having this get together, I still wanted to send them something pretty. I made up these invitations using my
Big Shot (seriously the best thing EVER!) and the
Flower Fancy stamp set. Flower Fancy is one of my all time favorite sets - and it's on sale right now for 20% off! Perfect!
I always like to embellish envelopes when I send something out. It's like a tease when you get it in the mail - you see the little stamps on the front and just know there's something lovely inside!
I need to run out this evening and get a nice new black gel ink pen to write on the invitations with... I always think that the worst thing about card/invitation making is my handwriting on them! I figure a nice new pen will make my writing look as nice as it possibly can, right?!
Hubby is the chef of the house, so he and I are putting together the menu over the next few days, and he'll be in charge of most of the cooking. I'll be handling the decor, and have visions of fresh cut flowers, colorscapes of purples and pinks, and beautiful table settings dancing in my head...
I won't be able to share much more about the Mother's Day brunch until after the fact, since both Mom's pop over to this blog from time to time, but you can be sure that there will be photos a plenty to share in about a month!
Meanwhile, if you have any favorite recipes for brunch to share Hubs and I would welcome them. Drop me a line in the comments with your suggestions!
Stampin' Up! Supplies Used: Stamp Sets: Flower Fancy, You're Invited. Inks: Orchid Opulence, Pretty in Pink, Lavender Lace. Cardstock: Whisper White, Lavender Lace. Accessories: White Satin 5/8 inch ribbon, Black Stazon ink, Big Shot Die Cut Machine, Top Note die, Texturz plates. Shop for these products and more at my online store.