I constantly find myself in awe
of the wonderfully talented people I encounter daily - especially here
in the land of blogging. I share links to some of the fabulous
projects I come across each weekend in my Week in Review posts, and now
on (most) Wednesday's... at least for a awhile... I'm going to be going
a step further and inviting one of those creative folks to guest blog
here at Ready, Set, Craft!
Please give a big warm welcome to today's guest blogger, Abby from Steinway Street...
I
love reading Joanne's blogs, so I was thrilled when she asked me to share a springtime recipe with her lovely readers!
I'm not sure about your town, but strawberries are readily available (and cheap) in NYC right now. So when I walked past my local green grocer the other day and saw their display of ruby fruits, I immediately knew which recipe I wanted to share with you:
Old Fashioned Strawberry Shortcake!
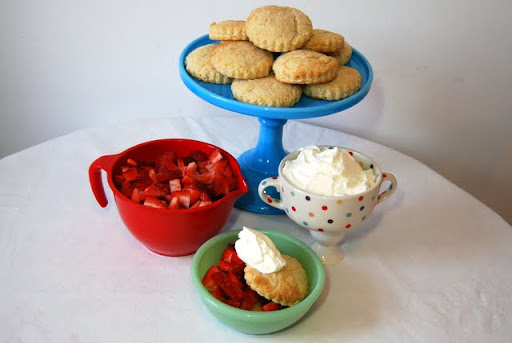
To make this delicious dessert, you'll need the following ingredients:
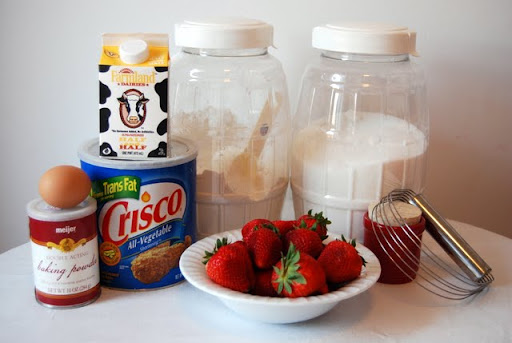
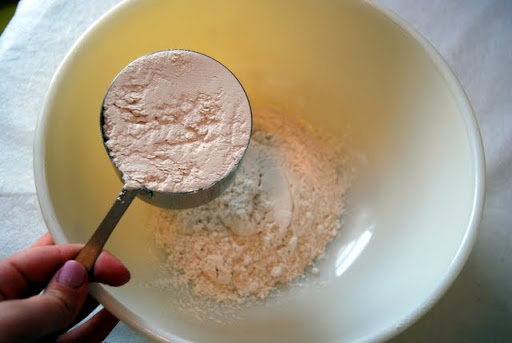
I bet you have most of these items in your pantry already, which makes this recipe a great addition to your book. You'll begin by adding your dry ingredients to a large bowl, starting with flour...
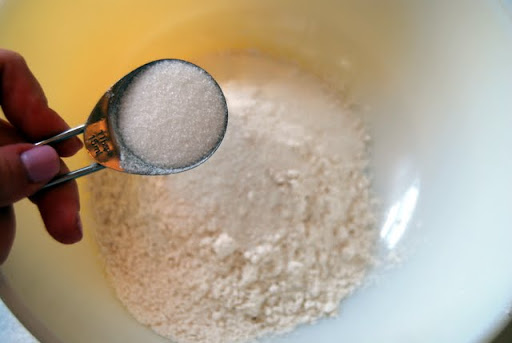
Sugar...
Baking powder...
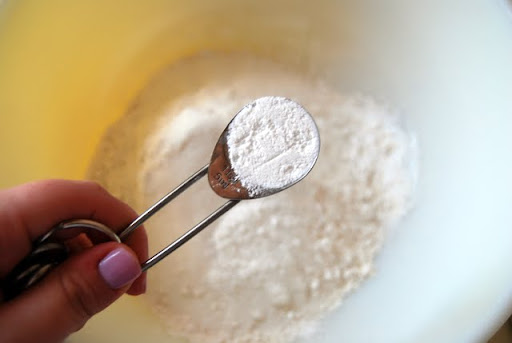
And salt.
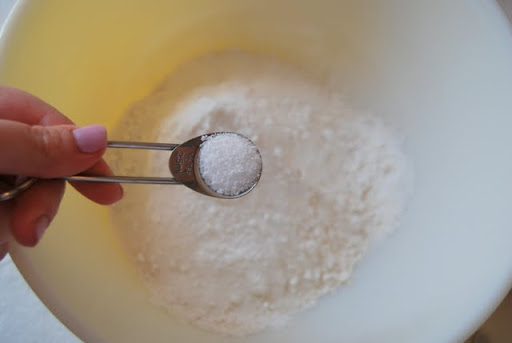
Next, you'll need shortening (although this can be replaced with butter if you prefer).
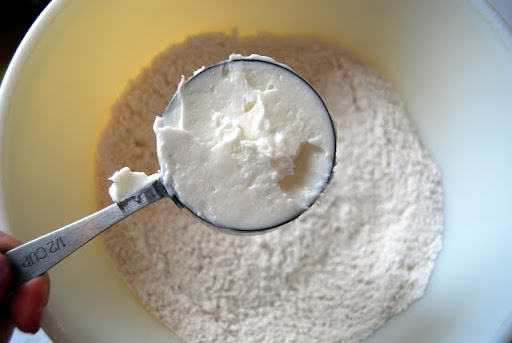
Using a pastry mixer, blend the ingredients...
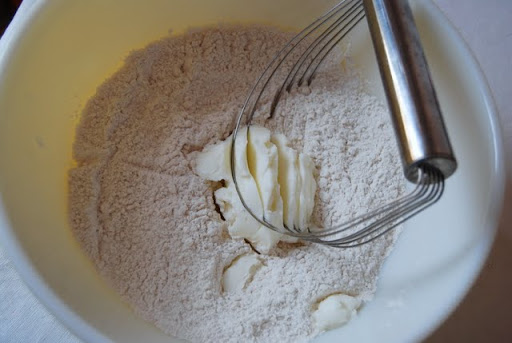
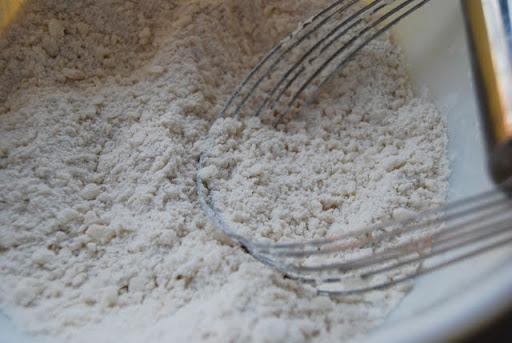
You should continue mixing until the dough has the consistency of peas or oatmeal... like this:
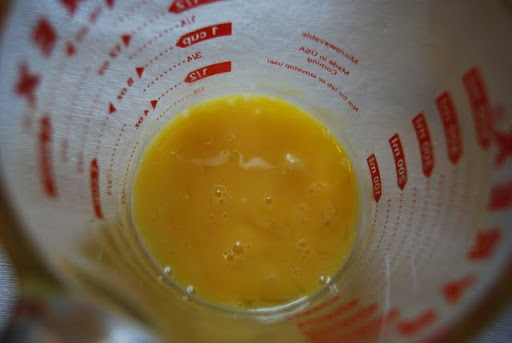
Once everything is incorporated, in a separate container beat an egg...
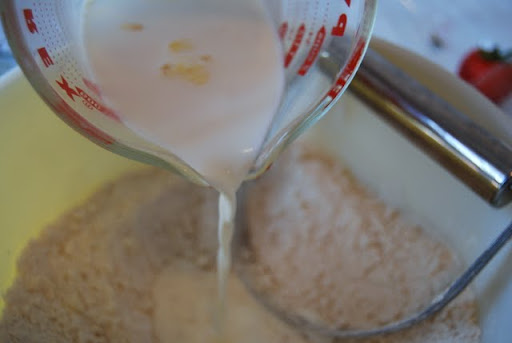
And add that, along with some cream, to the dry ingredients.
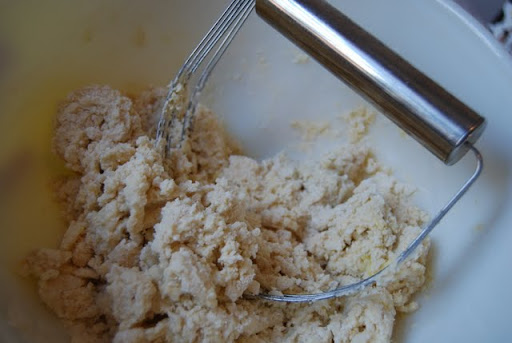
As you work, you should be careful not to over-mix the dough. Once things start coming together (and pulling from the sides of the bowl), you can stop.
At this point, you should turn your dough onto a flour-covered work surface.
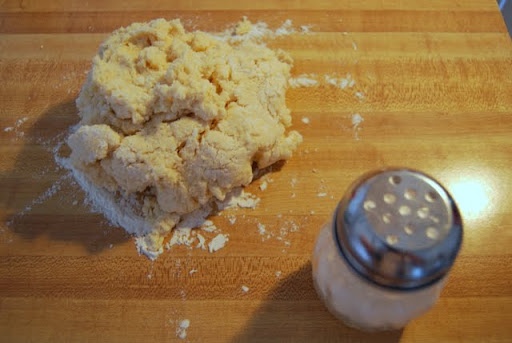 ( You're probably wondering about that shaker in the photo above. A friend shared this trick: fill a shaker with flour, and use it to dust your surfaces when baking. Isn't that a great tip?)
But back to the dough! Once you've rolled it out to your desired consistency, cut out your biscuits. You can use a cookie cutter, but depending on what size you want your shortcake, you can also use a glass or mug!
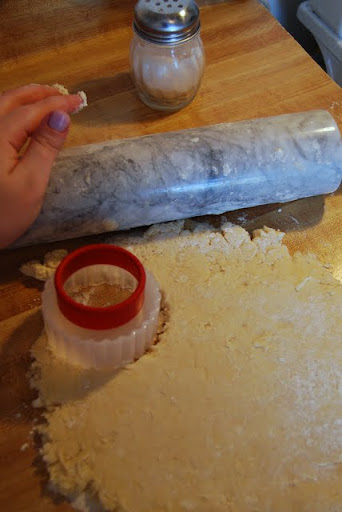
Once the biscuits are cut out, just lay them on a baking sheet and toss them in the oven for a bit.
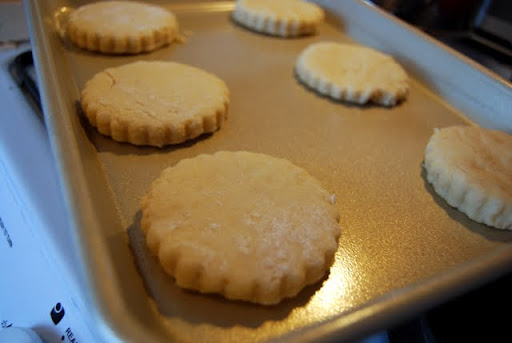
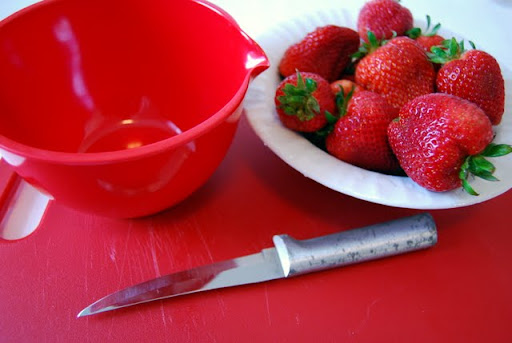
While they're baking, I would recommend you take a moment to hull and slice your strawberries. If they're fresh, you can sometimes get away with serving them plain- though I often prefer to sprinkle a little sugar over them, just to taste.
When the biscuits are slightly golden on top, you can remove them from the oven and set them on a rack to cool slightly.
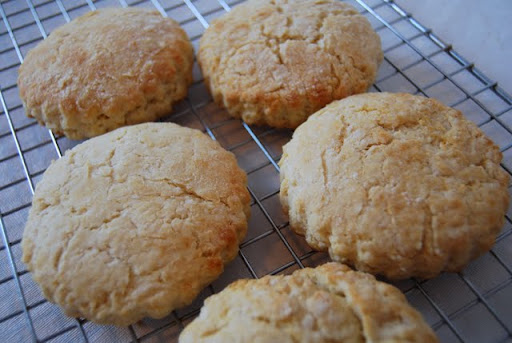
I prefer not to let the biscuits cool too much (because I'm usually pretty anxious to eat dessert). Whenever you're ready to eat, slice your biscuit and place it inside a bowl.
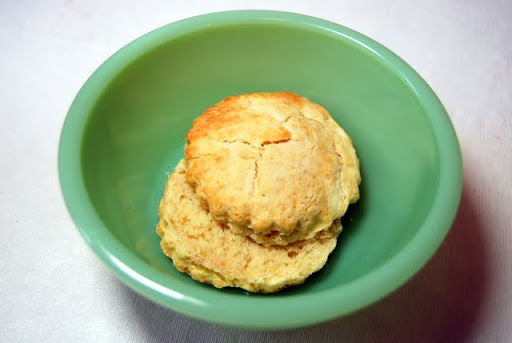
I sometimes butter my biscuit, depending on what mood I'm in... you can't go wrong with extra butter!
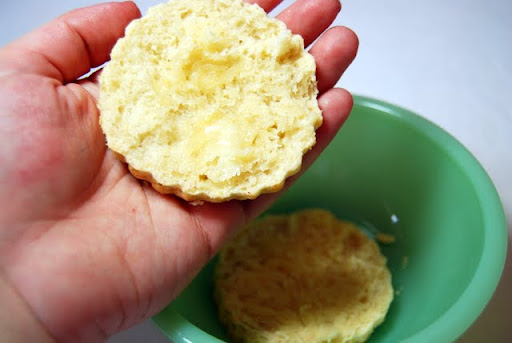
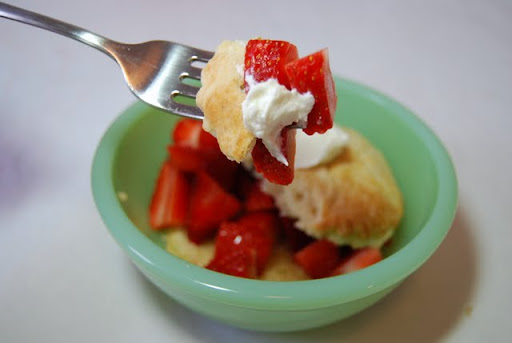
Then you should add as many berries between your biscuit slices as possible.
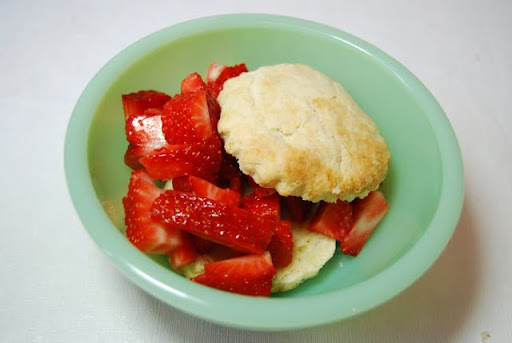
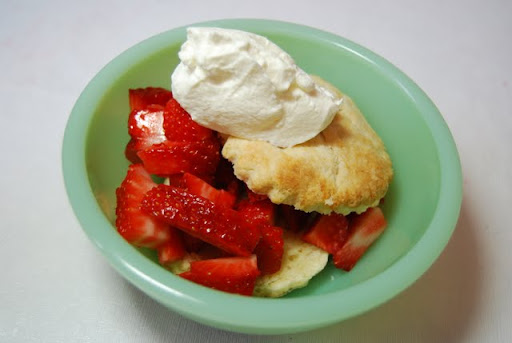
And while that looks pretty good, you're not done yet! Go ahead an add a dollop of whip cream on top! (I didn't have any pre-made in the fridge, so I used an immersion blender to whip up some heavy cream.) Doesn't that look just perfect?
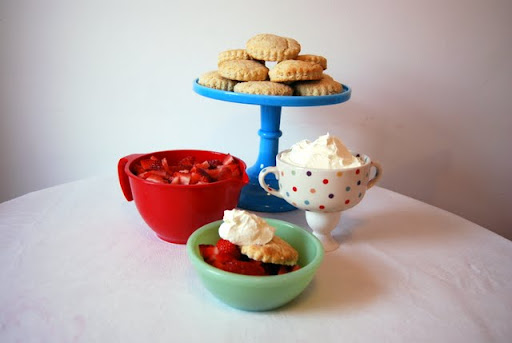
This is such an easy, yet scrumptious dessert! I think it's especially fun if you lay everything out in a self-serve style, so that your family/dinner guests can make their own version of this tasty treat for themselves.
If you'd like to try this baking this, here's the recipe:
Old Fashioned Strawberry Shortcake
Ingredients:
2 cups flour
2 Tbsp sugar
3 tsp baking powder
1/2 tsp salt
1/2 cup shortening (or butter)
1 beaten egg
1/2 cup light cream
Mix ingredients and bake at 450 degrees for 8 to 10 minutes.




 To make this delicious dessert, you'll need the following ingredients:
 I bet you have most of these items in your pantry already, which makes this recipe a great addition to your book. You'll begin by adding your dry ingredients to a large bowl, starting with flour...
 Sugar...
 Baking powder...
 And salt.
 Next, you'll need shortening (although this can be replaced with butter if you prefer).
 Using a pastry mixer, blend the ingredients...
 You should continue mixing until the dough has the consistency of peas or oatmeal... like this:
 Once everything is incorporated, in a separate container beat an egg...
 And add that, along with some cream, to the dry ingredients.
 As you work, you should be careful not to over-mix the dough. Once things start coming together (and pulling from the sides of the bowl), you can stop.
 At this point, you should turn your dough onto a flour-covered work surface.
 ( You're probably wondering about that shaker in the photo above. A friend shared this trick: fill a shaker with flour, and use it to dust your surfaces when baking. Isn't that a great tip?)
 Once the biscuits are cut out, just lay them on a baking sheet and toss them in the oven for a bit.
 While they're baking, I would recommend you take a moment to hull and slice your strawberries. If they're fresh, you can sometimes get away with serving them plain- though I often prefer to sprinkle a little sugar over them, just to taste.
 When the biscuits are slightly golden on top, you can remove them from the oven and set them on a rack to cool slightly.
 I prefer not to let the biscuits cool too much (because I'm usually pretty anxious to eat dessert). Whenever you're ready to eat, slice your biscuit and place it inside a bowl.
 I sometimes butter my biscuit, depending on what mood I'm in... you can't go wrong with extra butter!
 Then you should add as many berries between your biscuit slices as possible.
 And while that looks pretty good, you're not done yet! Go ahead an add a dollop of whip cream on top! (I didn't have any pre-made in the fridge, so I used an immersion blender to whip up some heavy cream.) Doesn't that look just perfect?
 This is such an easy, yet scrumptious dessert! I think it's especially fun if you lay everything out in a self-serve style, so that your family/dinner guests can make their own version of this tasty treat for themselves.
 If you'd like to try this baking this, here's the recipe:

