Showing posts with label Halloween. Show all posts

Tuesday, November 2, 2010

Halloween Recap Part 2

Some shots from Halloween dinner (Texas style chili and pasta, pumpkin spice cupcakes with cream cheese frosting), goody bags for the little ones (see yesterday's post) and Trick or Treating...


Have a great Tuesday!

Monday, November 1, 2010

Halloween Recap Part 1

I guess this is actually part two - since I already shared our pumpkin carving with you!  I hope that you had a wonderful Halloween weekend!  We had a fabulous weekend - carving pumpkins, a birthday party, Trick or Treating and more.  Lots and lots of beautiful memories made!

For the little ones in my life - I put together some Halloween gift bags with tags.  I had the best intentions for the longest time to SEW the bags themselves out of felt - I have all the supplies and everything - but time got away with me and lots of exciting changes have been happening in my life this past week (more on that to come later this week...) and I just ran out of time.

I used the Fang-Tastic stamp set from the Holiday Mini Catalog.  I love this set and have used it more than anything else in the mini catalog thus far.  This set will only be available until December 31.  Visit my online store today if you'd like to pick up this set for yourself - it's so cute!


The vampires were the boys' bags and the witches indicated the girls' bags...

I inked the edges of the white cardstock using a Pumpkin Pie ink pad for an extra spooky effect...

I have a thing for curling ribbon.  Putting these together got me excited about Christmas wrapping.  I LOVE to wrap Christmas gifts!

I thought they turned out really cute - and the kids certainly enjoyed them!  I filled them with sweet treats (of course!), plus a Halloween book, some play doh, and more.


More Halloween recaps and Trick or Treating photos tomorrow!  Happy Monday!

Saturday, October 30, 2010

Pumpkin Carving 2010

Every year we get together with our friends Cindy and Dustin to carve pumpkins.  In fact - this year marked the 5th Anniversary of our annual pumpkin carving activities!  As always, it was a lot of fun, and I think this year's pumpkins were our best ever!

Before...
 I have a thing about making chocolate covered pretzels lately...
 Travis' famous artichoke dip... a Halloween tradition...
 Action shots...
 Cindy and I...
 The finished products!

Happy Halloween!

Wednesday, October 27, 2010

Thursday, October 21, 2010

Pumpkin Patch & Halloween Decorations!

Happy Thursday, folks!  Just one more day until the weekend!  There hasn't been much time for crafting this week (boo!) but we did carve out time (no pun intended!) to do a couple of fun fall things.  On Tuesday night we headed out to the pumpkin patch to pick pumpkins, and then last night we did a little Halloween decorating.  I thought I'd share some photos with you.

For the past three years we've headed to a local farm to pick our pumpkins with our good friends the Hill Family.  Usually we go on a weekend, but our schedules were extra packed this year so we ended up doing a weeknight.  It was actually a lot more relaxed, and very beautiful.


Anthony is always in charge of the wagon.  Thank goodness!  That sucker gets heavy with seven peoples' pumpkins in it!


We played on the playground and checked out the farm animals while we were there...


And of course we couldn't leave without two things:  1)  Sitting down and gorging on delicious homemade donuts and apple cider...


And flagging someone down to take our annual group photo.  Maybe I'm jinxing it by saying so, but somehow we ALWAYS end up getting a good picture of EVERYONE!  : )  Such a wonderful memory to keep each year!


I've never really decorated the exterior of our home for Halloween before.  Still being relatively new homeowners we don't have a lot of either Halloween or Christmas outdoor decorations, or the money to spend a lot of cash to buy them.  My Mum always says that you accumulate holiday decor over the years, so I'm kind of going with her philosophy and building our collection as we go along.

We have an enclosed porch and I change the tablecloth of our table out there for each season, so I've got the Halloween table cloth on now...


I picked up a box of orange lights for $3 and we hung them on some preexisting hooks in our front porch.  It took all of five minutes!  I figure I'll try to grab some more lights on clearance after Halloween for next year.  We then hung some ghosts from the lights - I was worried they wouldn't show up from the outside but you can see them really clearly, and at night the orange lights case a spooky glow over them!


A couple of $1 bags of cobwebs cover our bushes below the porch windows.  I need some big plastic spiders or something to put in them...


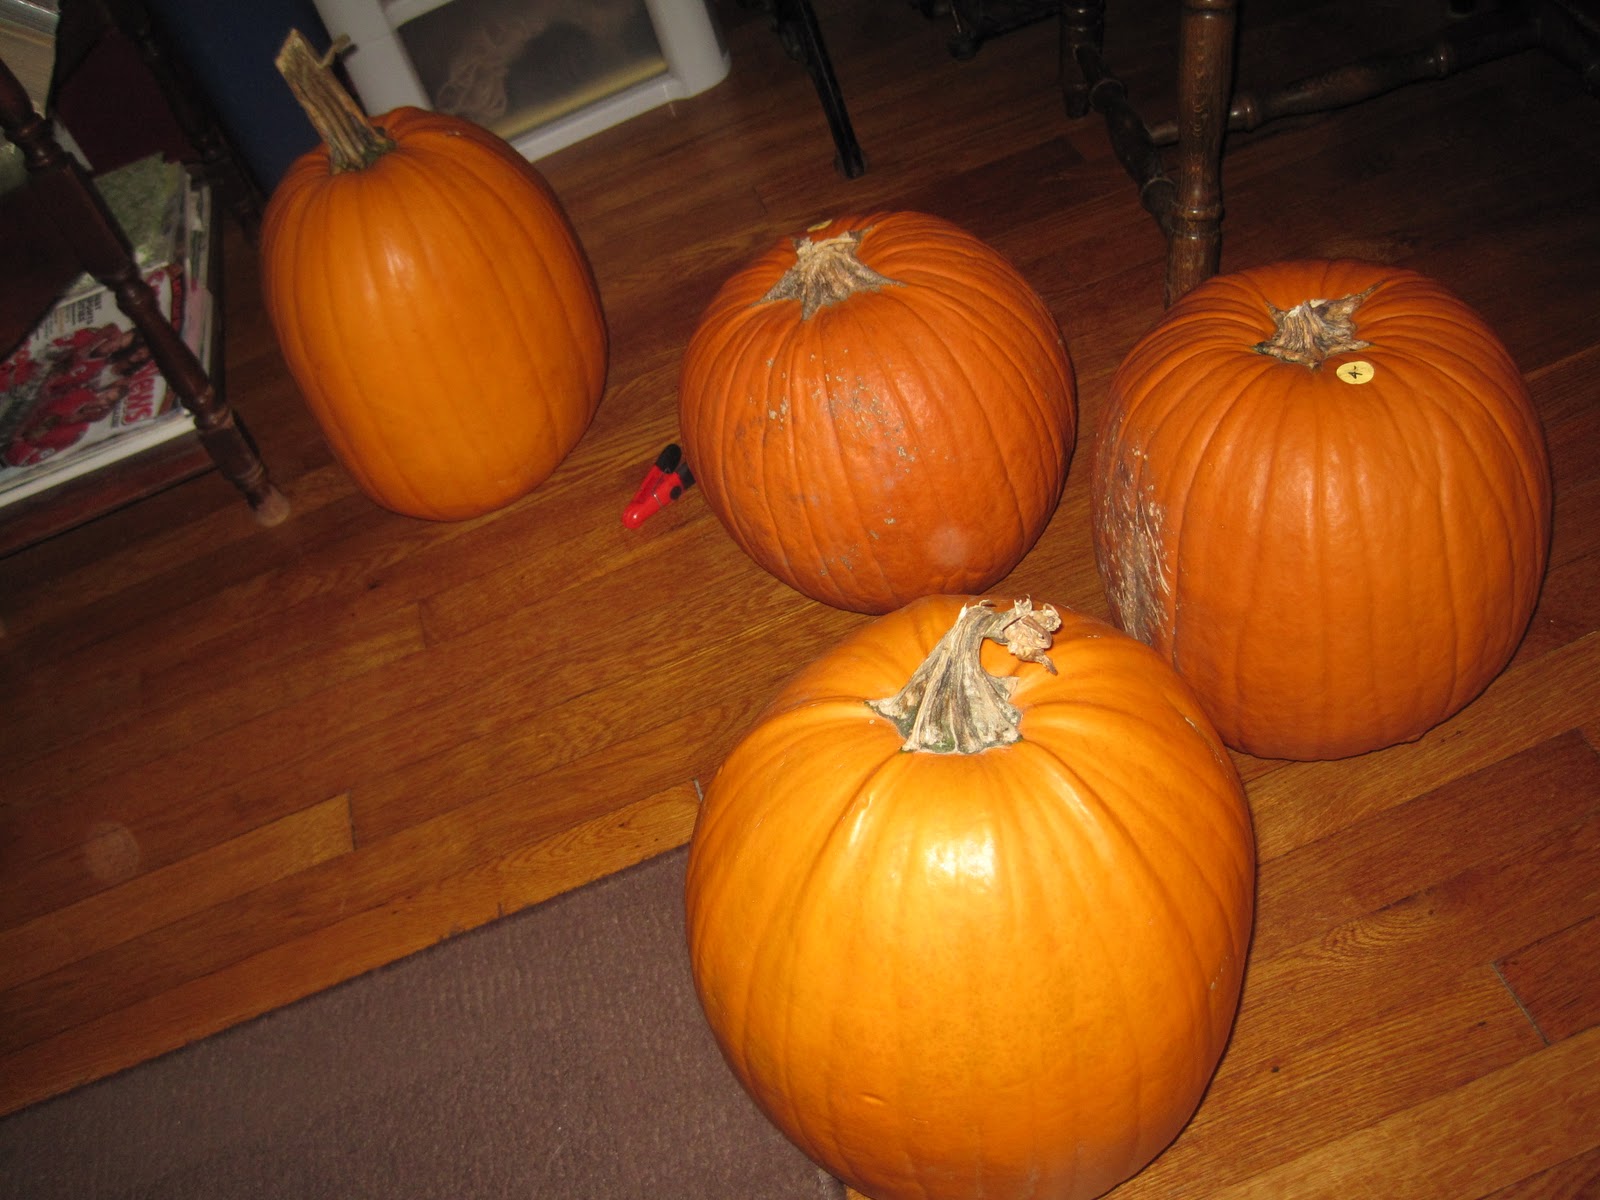
Our pumpkins from the pumpkin patch.  Pleas disregard the extreme need for our front steps to be painted!  Next year...  : )


To finish it off I'd really love some of those fake gravestones in front of the bushes.  Again, maybe I can get some on clearance after Halloween for next year.  All in all, we decorated (minus the pumpkins and mums, which will stay until closer to Thanksgiving) for about $7.  Deal!


I hope you're enjoying the fall season as much as I am!

Thursday, October 14, 2010

Sick Day - Halloween Reruns

Happy Thursday, folks!  How are you?  I've succombed to my first bug of the fall season and have been under the weather the past couple of days.  I've got a busy weekend coming up and an easier busier few weeks ahead so I'm taking some time to just REST. 

In light of that, here are a few Halloween reruns from last year to tide you over until I'm back on my feet again.  Until then, take care of yourselves and stay healthy!

Teeny tiny pumpkin shrinky dink charms (full post here)


Cupcake Halloween costumes via Food Network Magazine (full post here)


Quick and easy Halloween Goody Bags (full post here)


What Halloween goodies have you been crafting up?


Tuesday, October 12, 2010

Guest Post: Skeleton Wreath

I'm so lucky to have my dear, dear blog friend Meg here today to share a very creepy tutorial with you.  She's crazy for Halloween and always has creative ideas for all kinds of Halloween decor, treats and more!  Enjoy her skeleton wreath tutorial, then head over to her blog for more spooky stuff!

Hi there, I'm Meg from Mega•Spooky (and Mega•Crafty). I am really excited that Joanne asked me to guest post here are Ready, Set, Craft! Halloween is by far my favorite holiday. I love decorating for it and I also love crafting, so anytime I get to combine the two I'm wildly happy.

Today the project I'm going to share is a skeleton wreath. It's made from a styrofoam skeleton that came in a bag with all the bones separate (This exact product or something like it seems to be readily available in the Halloween decoration section of most chain home stores.)

I started by laying out the bones and evaluating all the pieces, dry stacking them a few times to get a feel for the shape and size of the wreath.

For me the shape worked best if I used the flatter pieces- hips, hands, feet- to make my base. Each piece overlapped the other so that I could glue them to each other.


I found this glue in the craft store and it worked perfectly.

I wanted the skull to greet all my guests face to face so I gave it a prominent spot at the top, then worked my way around the wreath building the second layers of bones using mostly the leg and arm pieces (boy doesn't that sound strange in a wreath tutorial).

Once I had two solid layers I was left with some of the skinnier flat bones and some smaller little ones (I'm not a doctor and I'm really not sure which bones these are so I'll stick with my highly technical term of "the rest".)

I took "the rest" and stuck them in wherever I thought it felt a little bare.

The last piece of the skeleton I added to the wreath was the jaw (and in my opinion it was the best piece- I think it really makes the whole thing).


This was the only piece that needed to be propped up until the glue dried, everything else stayed in place on it's own.
I let the wreath dry flat overnight and the next day it was ready to hang. Since the skeleton is foam it's very light and only needed to sit on a small nail to hang it (but you could attach some floral wire and use a small hook it needed).

It's a little creepy (my husband shakes his head every time he looks at it and says how wrong it is) but I love the unexpected for Halloween! (Besides I think he secretly likes it.)

Thanks for checking out my project I hope you have a Happy Halloween.