I share links to some of the fabulous projects I come across each weekend in my Week in Review posts, and now on (most) Wednesday's... at least for a awhile... I'm going to be going a step further and inviting one of those creative folks to guest blog here at Ready, Set, Craft!
For today's post, I'm thrilled to welcome the adorable Sarah from Auburn Street!
This is my absolute favorite little project right now. I am always writing down projects I want to try out, books that look good, movies to see, and grocery lists on scraps of paper and shoving them in my purse. These little notebooks are perfect for sliding into your back pocket or sticking on the fridge to remind yourself of those oh-so-important things! Crafty, functional, and recycled!
First thing's first, gather your supplies:
The essentials for this project are padding compound and a paper cutter. I bought my padding compound here, in the quart size. The bottle will be enough for thousands of notepads, and I haven't ben able to find a smaller amount anywhere. Padding compound is a magical pink (or white) substance that you paint onto stacks of paper to turn them into notepads. Pretty much amazing!! I also can't imagine doing this without a paper cutter, since all of your pages need to be the same size so that they'll stick together.
- A thin paintbrush
-Small binder clips or clothespins
-a variety of paper to slice up - I use a mix of cool pages from catalogues, scraps of maps from an old Atlas, lined index cards, and construction paper. You could use anything you have lying around!
-Thin cardboard - A cereal box is the perfect thickness for the back and front of your book. I've used beer boxes and old shirt boxes as well.
Ready to start??
Step 1: Choose the size you want your notepad to be. For this tutorial, I'll be making a 3 inch by 4 inch pad. So you'll cut two pieces of cardboard for your front and back covers.
Step 2: Decorate the cover. I like using rubber stamps or permanent markers to write what the notebook will be for.
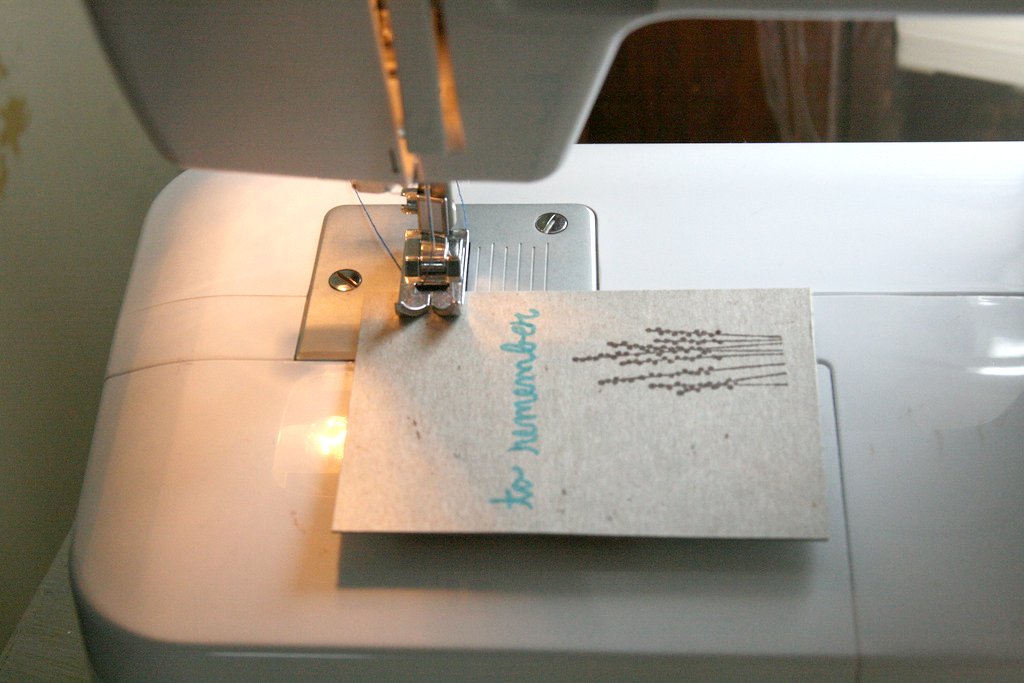
Step 3: Add a little detail with your sewing machine (or just hand stitch a little design on!). I set my machine to zig-zag stitch, and put the cover a under the foot. Make sure you pull the thread through enough so that there is a few inches of extra thread off the end. Don't backstitch - just sew straight across, and cut the thread so that there are a couple inches of extra thread on this side, too.


Now, you'll want to tie off the extra thread so that the stitches don't unravel. Do this by tying a small knot on the back side of the cardboard.

Woohoo! One zig-zag done! Now do another one if you'd like, because you are a pro.
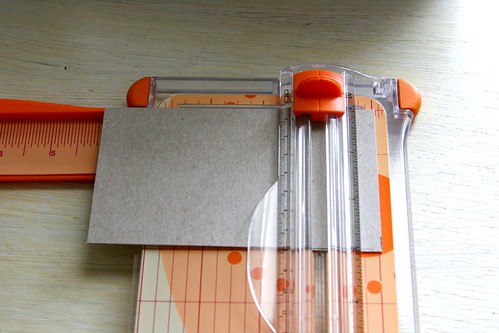
Step 4: Time to cut the pages! Make sure you measure, measure, measure, the closer your pages are to being exactly the same size, the better. This is my favorite part. I seriously use whatever I have on hand - and then I arrange the pages so they are in completely random order:
Look how bright and colorful! You could use graph paper, old kids books, the inside of security envelopes, junk mail, coloring book pages, anything! I just make sure the pages are light enough to write on...
Step 5: Once you have all of your pages cut, line up the pages between the front and back covers.
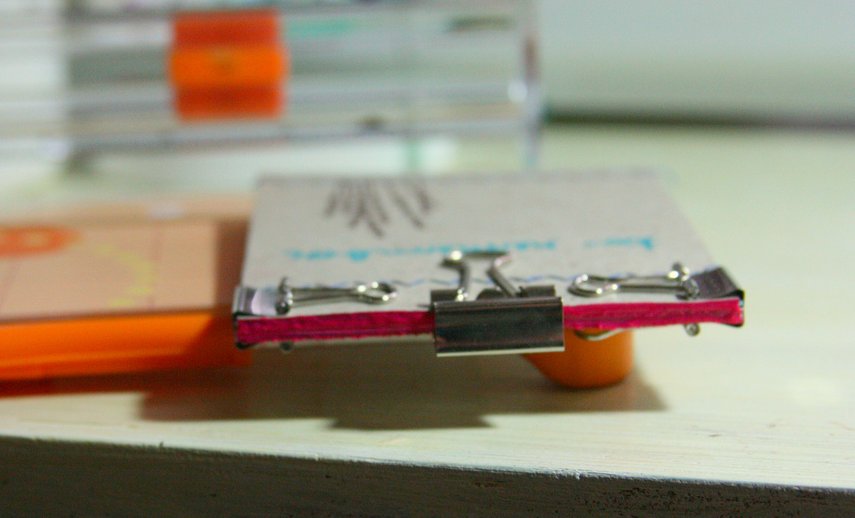
Then, use binder clips or clothespins to press all of the pages together and paint a light layer of padding compound onto the top edge.

Allow this layer to dry... put something heavy on top to really press the pages together (i sometimes use another larger binder clip).
Add another layer of padding compound and allow it to dry before removing the clips.
Step 5: Your notepad is finished! Now run off and write all your inspirations in one safe place!
I promise you'll be just as addicted as me now! Imagine the possibilities... don't make a front cover, add a magnet to the back, and you have a shopping list or meal plan for the fridge. Stamp graph paper and make a cute thank you gift for teachers or coworkers. Have a half used sketch book lying around? Why not make a notepad full of watercolor or sketch paper? I can't wait to see what you come up with!
Love this! Be sure to leave Sarah some comment love, and head over to her blog to check out more of her projects and life!


8 comments:
this is now on my "to do list" i love it
I love this idea. I had never heard of padding compound but will add that to my list! Thanks for a wonderful tutorial!
I have never heard of that padding compound before! I'll have to hunt around for it! Sounds like amazing stuff! What a great tut!
...and thanks for posting about my card drive Joanne! I really appreciate it!
HUGS!
thanks for the tutorial, i've definitely gotta try this once i find some padding compound! :)
This is awesome... I really want to make these!! Where did you get the padding compound... never mind I read more closely and know. :) Thanks Joanne!
Aw Joanne, thanks so much for letting me guest post! It was so much fun!
Super darn cute! I've made many-a-project using random pieces of cardboard and magazine pages, and this would be another fun way to use them.
SUPER cool. What a great idea! I'll have to check her out!
Post a Comment